

After reading an article from Women’s Health Magazines about how to bliss out your bedroom, I decided my newest household endeavor would be to turn my bedroom and master bathroom into a spa-like retreat. It’ll take some work, which requires time, but I’m starting with taking baby steps.
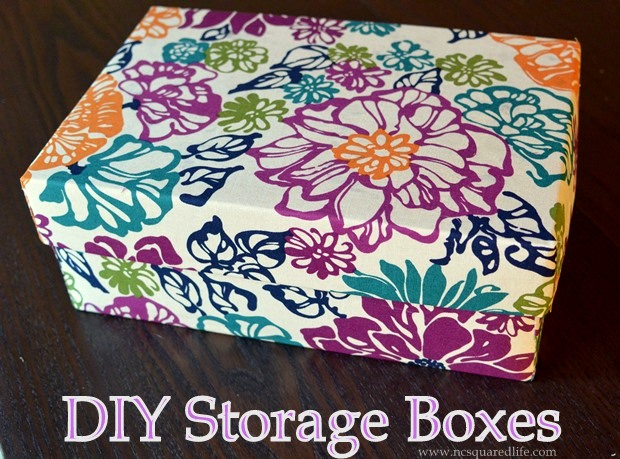
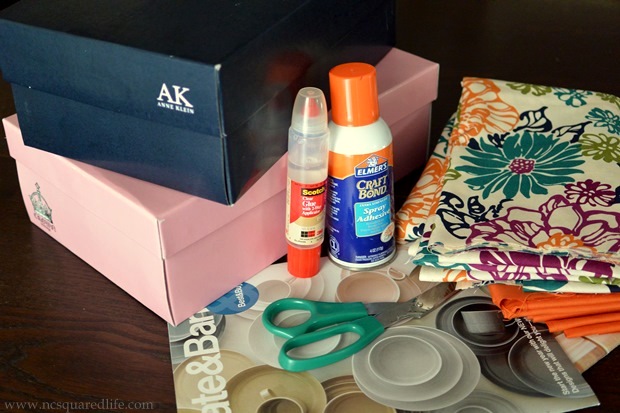
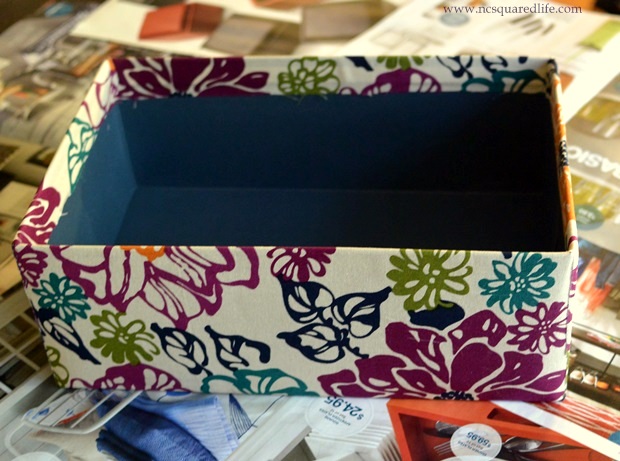
First thing’s first, I decided to make some DIY storage boxes from old shoe boxes to remove the clutter from our dressers. I have a really bad habit of throwing everything onto the dresser: clothes, papers, pens, jewelry, books, you name it. I’ve tried so many times to make a habit of tidying up on a regular basis but I decided it’s much easier to hide the mess. Hey, like I said, baby steps! These boxes are really easy to make and only require some fabric and spray glue.
Step 1: Iron the Fabric. This may seem tedious (it did to me because I’m impatient and wanted to jump right in) but you don’t want your finished product to be all wrinkled. It won’t look as nice. If your fabric is already nice and smooth, you can probably skip this step.
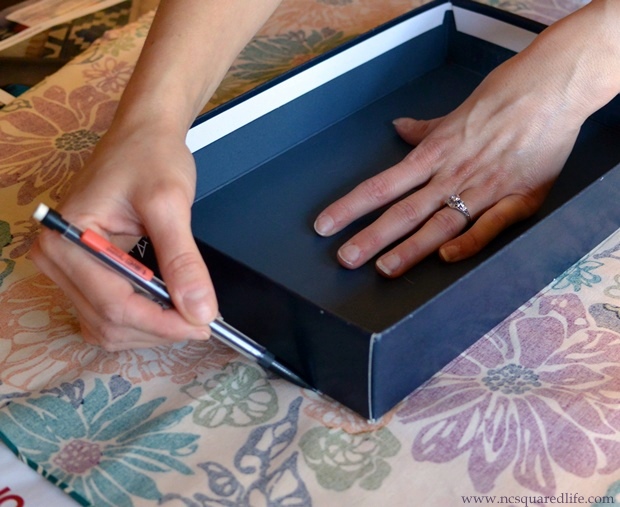
Step 2: Trace the Box on the Fabric.
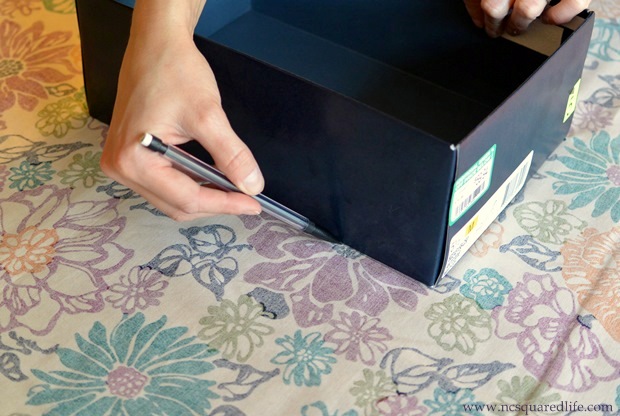
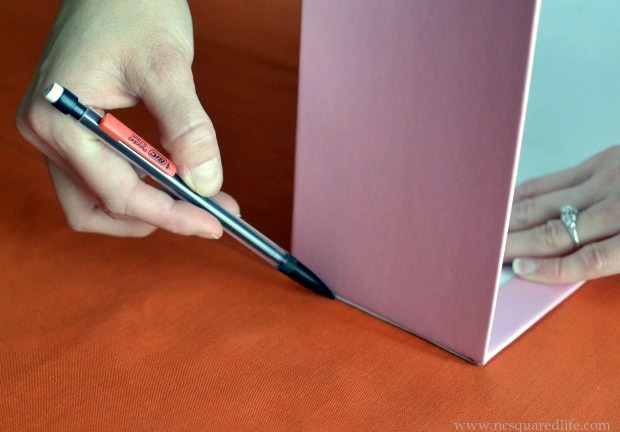
Sit the box on the fabric and trace around the bottom. THEN, without moving the bottom/base from its position, FLIP it onto its side and trace that side onto the fabric. Place the box back on its bottom in the original rectangle/square you traced and flip it on the other side and trace. Do this for all four sides.
I didn’t get a good photo using the pretty patterned fabric so here it is in the orange!
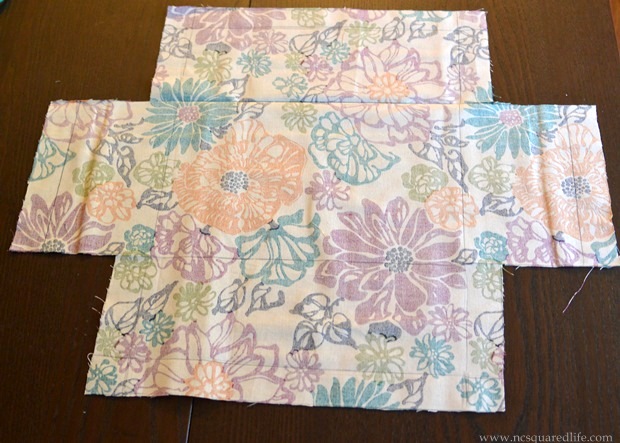
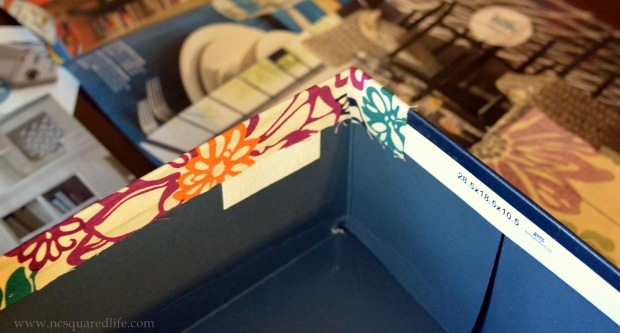
Now comes the tricky part. I used a rectangular-shaped box so I extended the long sides by an inch on each side, meaning, once I traced out all the sides, I used the ruler and added an inch to tops and sides of the two longer sides. To the two shorter sides (on a shoebox, this is where the list the name and size of the shoe, if that helps), I added an extra inch only to the end, and not on the sides. If you’re using a square-shaped box, just do this to two of the opposite sides (as if they were the “longer” sides)
The reason is because of this: when you’re gluing your fabric to the box, you want each side of fabric to be long enough to cover the side of the box AND fold over to the inside of the box so that the entire box is covered and none is exposed. By adding an inch to the top and sides of each longer side of the fabric, you have enough fabric to wrap over the edge of the box, as well as about an inch to wrap along the sides, which will smooth out the seams when you fold up short sides in the end. You’ll see what I mean in Step 4.
So, after adding your extra inches described above, this is what your fabric should look like:
Maybe this will help:

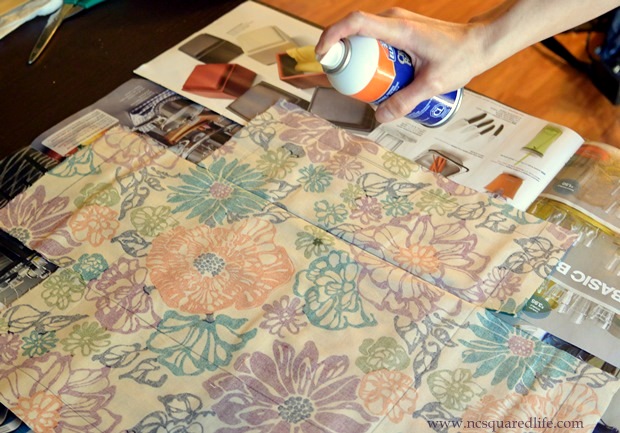
Step 3: Prep and Glue the Fabric. Lay down your newspaper/old magazine pages so that you cover all surfaces you don’t want to get sprayed with adhesive. Place the fabric on the newspaper and give it a generous spray with the glue. Make sure to cover every inch of fabric with a good amount of glue.
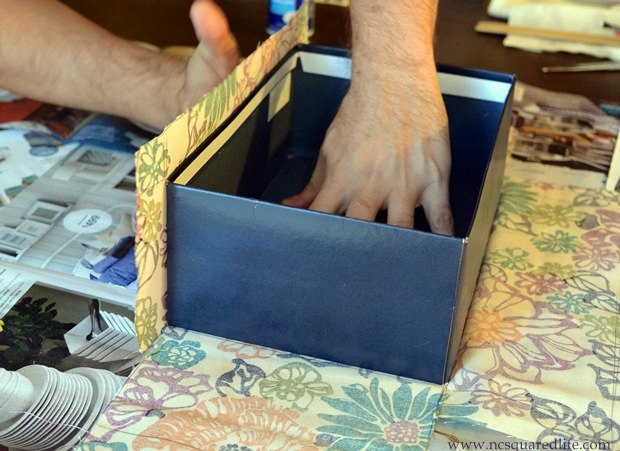
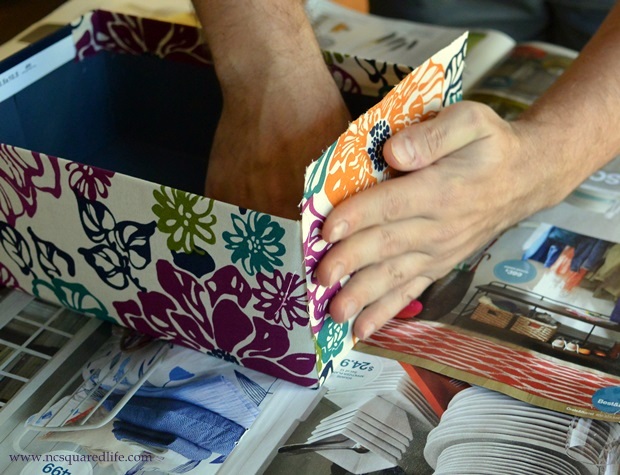
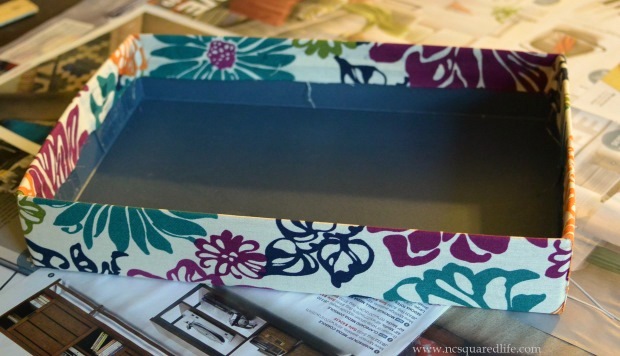
Step 4. Press the Glued Fabric onto Each Side. Now, work quickly but carefully. Start with the long sides and press the fabric smoothly onto the side like so:
Then fold the sides over like so (this is why you want the extra inch of fabric on each side, without it, you wouldn’t be able to fold the sides over and then it will be harder to smooth out the edges and some of the box might even be left exposed):
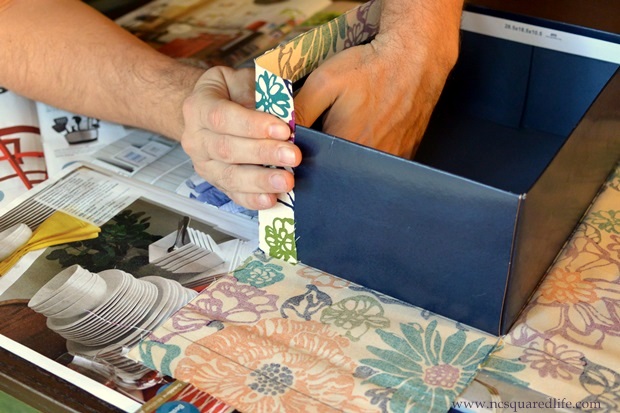
Then fold the tops over the edge of the box, like so:
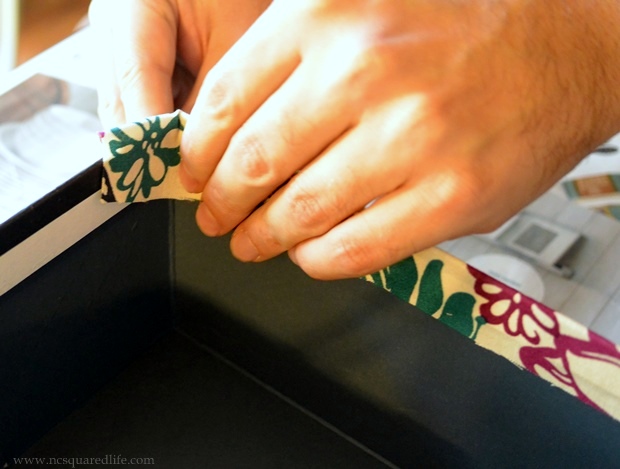
Repeat on the opposite side. Then, fold the shorter sides up and smooth out the seams, like so:
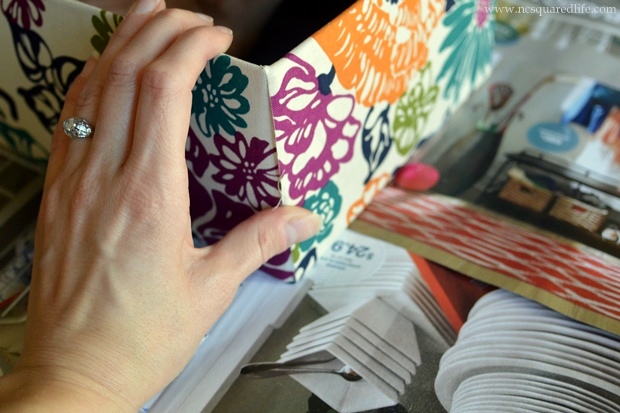
Make sure as you go, you smooth out each side as best as you can.
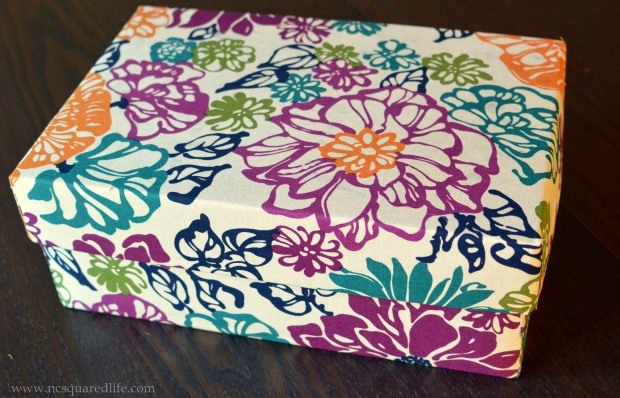
Step 5: Repeat all of the procedures for the lid:
Step 6: Let Dry. Let the box for an hour or so and it’ll be ready to use!


[…] made the storage box on the second shelf using an old shoe box, fabric, and glue. It comes in handy for catching all the […]